How to make selective color adjustments in Fotografix
The HSL panel in Fotografix allows you to make selective color adjustments by simply moving a few sliders. You can enhance, mute or even completely change specific colors in your photo.
What is HSL?
Digital images are typically encoded using the RGB color model, which represents each pixel as a combination of red, green and blue intensities. While this model is quite convenient for electronic displays, it is not an intuitive model for making adjustments.
HSL, which stands for hue-saturation-luminance, is an alternative representation of RGB that more closely aligns with how humans perceive color.
- Hue is what we normally think of as different colors, such as red or green
- Saturation is how much of that color is present (zero saturation means no color, i.e. gray)
- Luminance is the brightness of the color, going from completely black to completely white
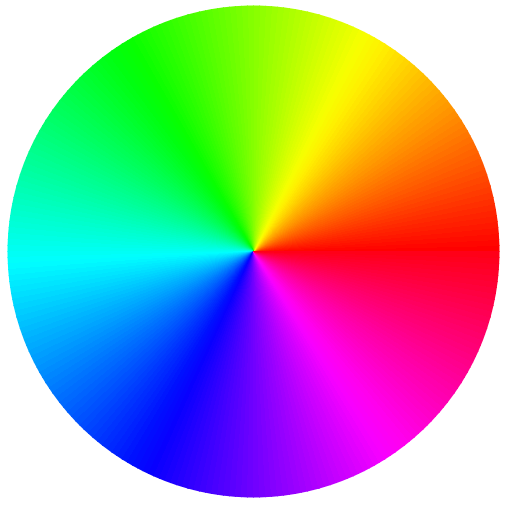
Hue is often visualized using a color wheel that cycles through the entire color spectrum. While there are technically an infinite number of possible hues, for practical purposes, the wheel is typically divided into a handful of color ranges such as reds and greens.
Using the HSL panel
The HSL panel in Fotografix contains three tabs, one each for hue, saturation and luminance. Each tab contains six sliders corresponding to different color ranges on the color wheel.
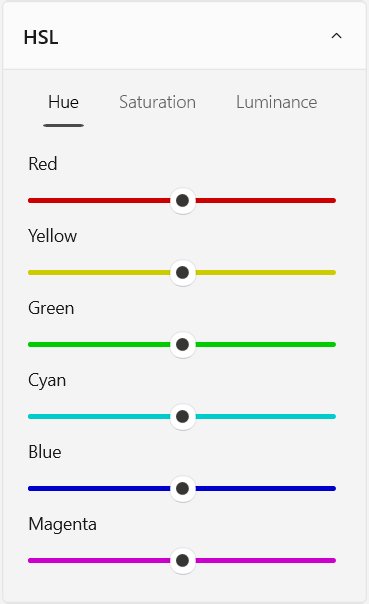
Let’s look at some examples of what you can do with these sliders.
Change the color of an object
Use the hue sliders to shift colors from one color range to another. For example, moving the blue hue slider will shift blue tones to a different color. You can use this to achieve interesting effects such as changing the color of the sky.
Make certain colors pop
Dial up the saturation sliders to enhance specific color ranges. For example, moving the green slider to the right will increase the saturation of green tones and make them pop out relative to other colors.
Create a partial black and white effect
Pull back on the saturation sliders to mute specific color ranges and achieve a partial black and white effect. For example, to remove all colors except red, turn down the other saturation sliders to zero.
Additional tips
- Colors often straddle more than one color range, so you may need to adjust multiple sliders to get the desired result. For example, a “blue” sky typically also contains cyan and “green” foliage often contains yellow.
- Be careful not to go overboard with HSL adjustments: it’s easy to end up with something that looks un-natural. Extreme shifts can also cause color banding if there isn’t enough color information in the original photo to accommodate your adjustments.
Ready to try it for yourself? Fotografix is a non-destructive photo editor, so you can play around with adjustments and revert them later if you’re not happy with the results.